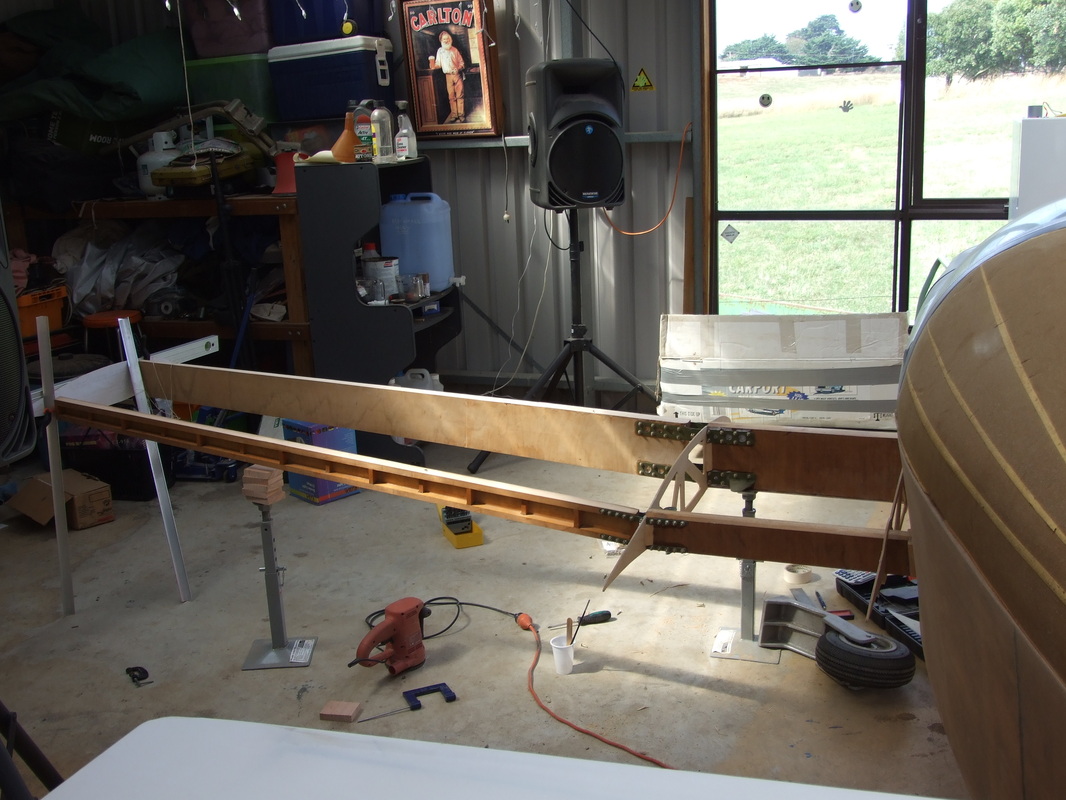
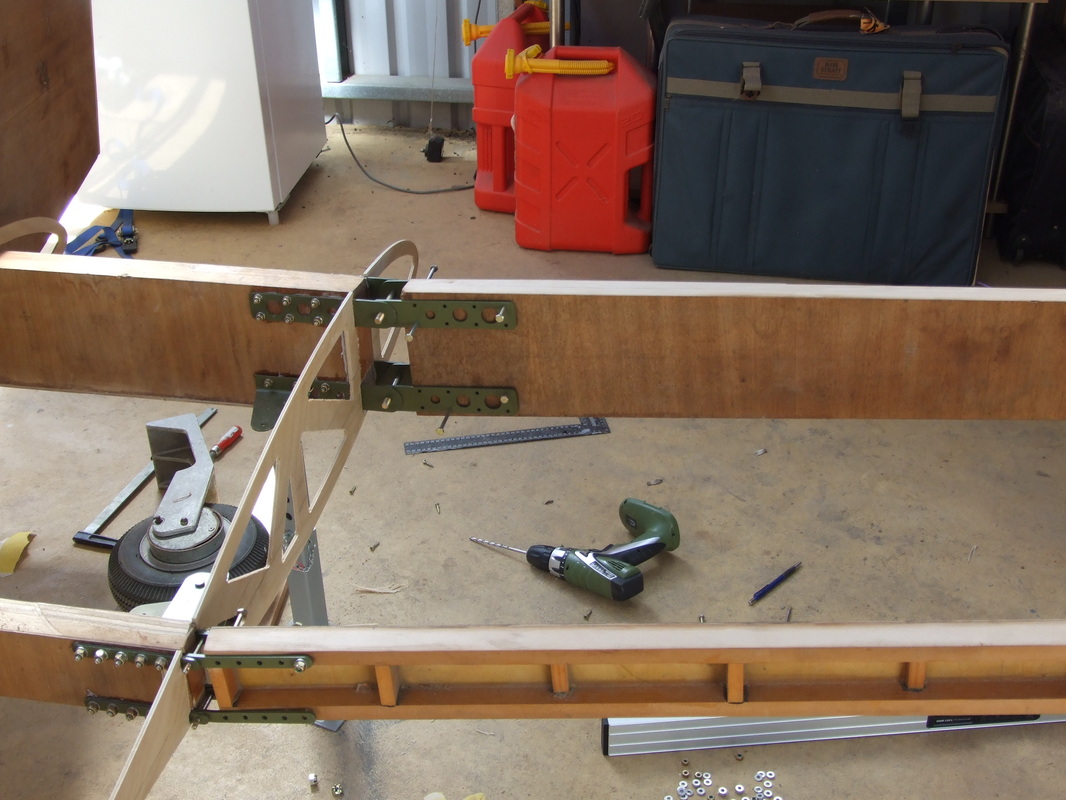
25/02/2012 
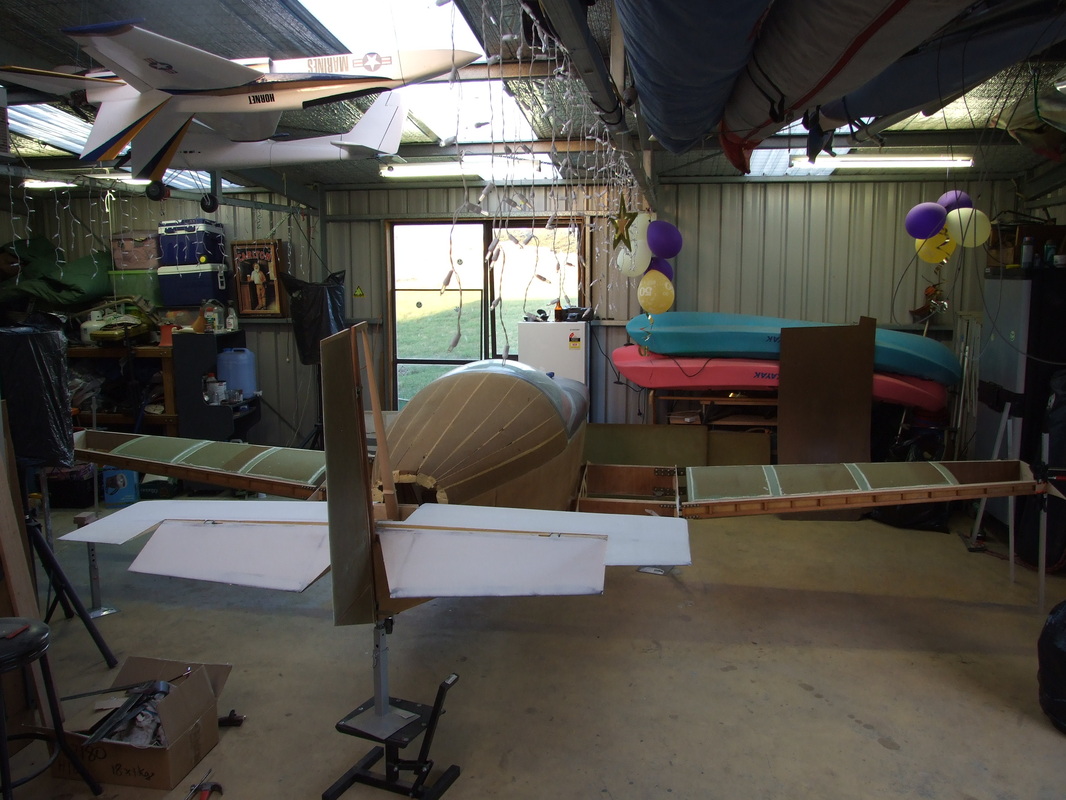
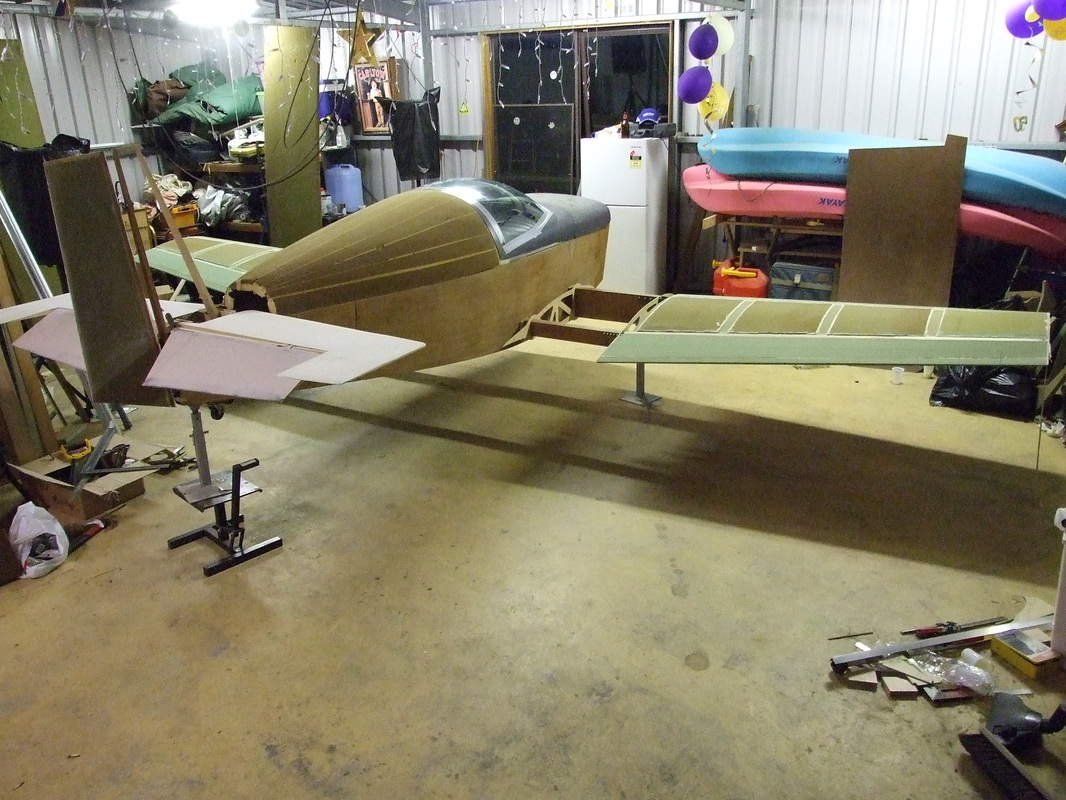
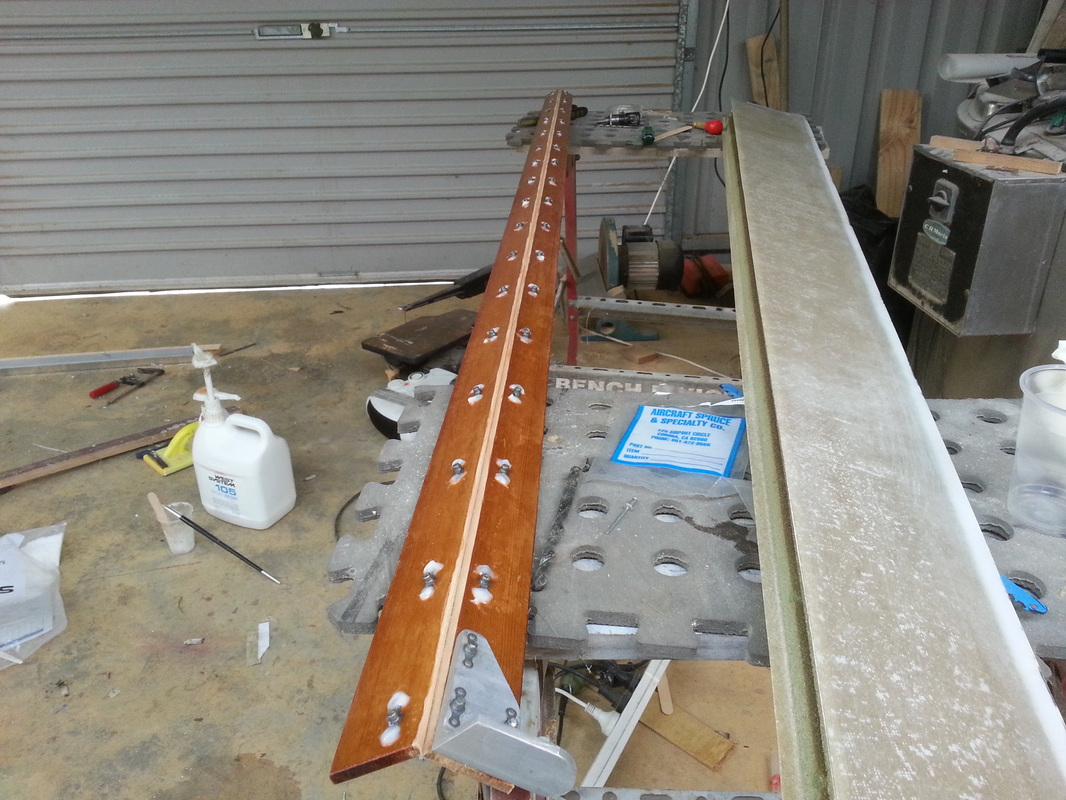
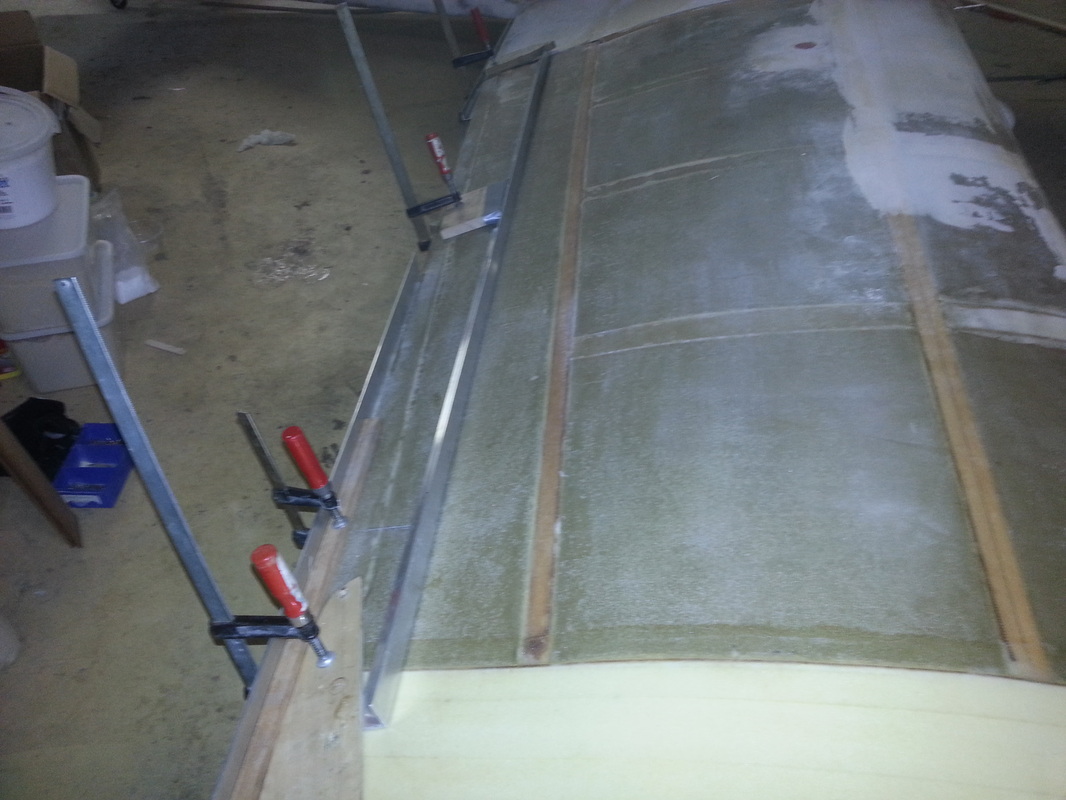
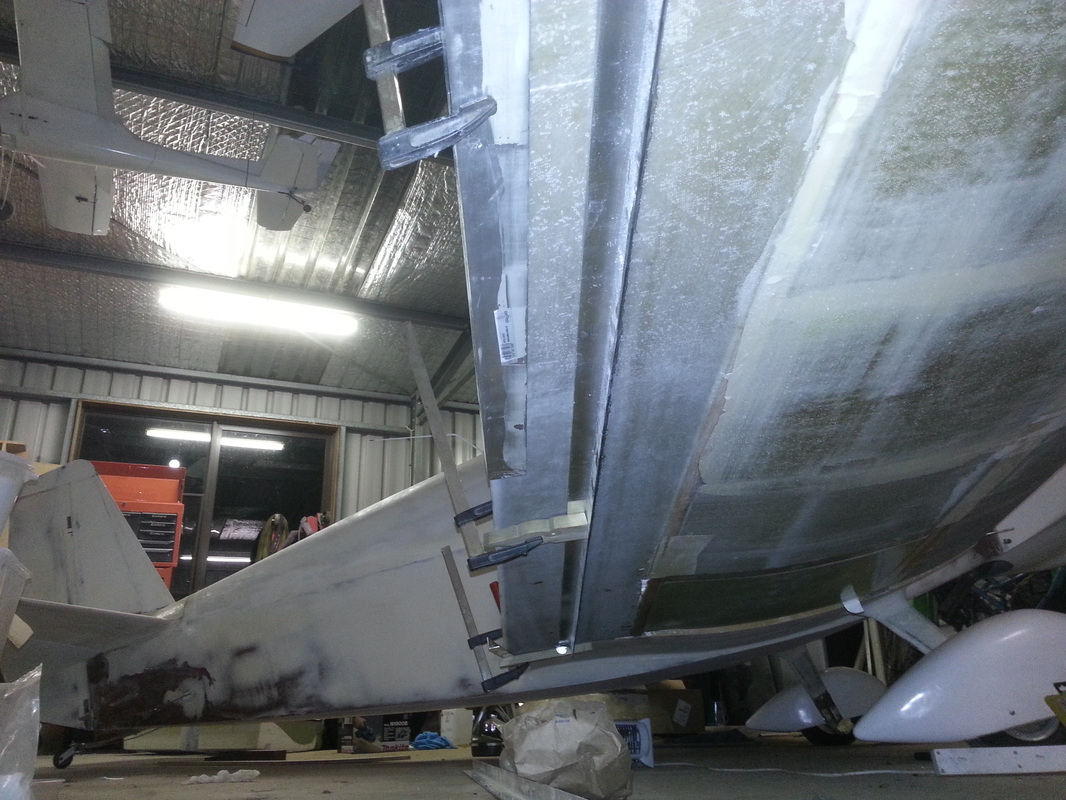
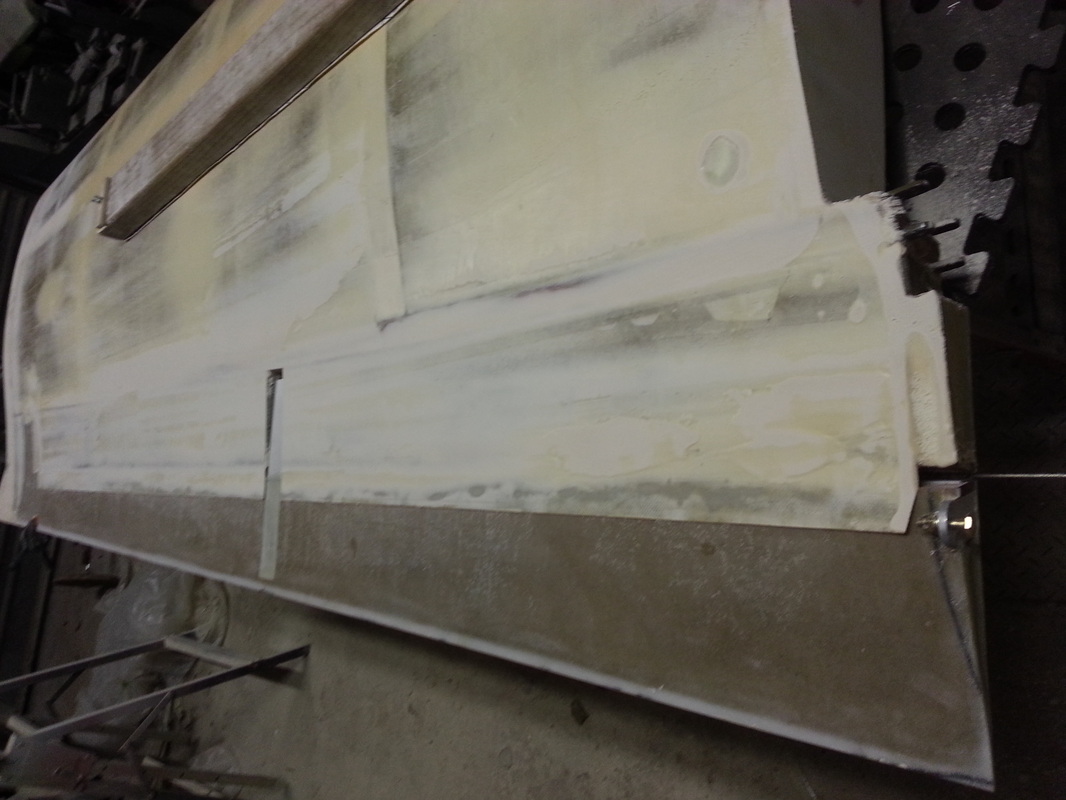
Building the outboard wing panels so far have been pretty straight forward. I was lucky here having a head start with the spars already built. these are in excellent condition being preserved with varnish and the caps not shaped, and that's a good thing as I am using the AS5046 profile all I had to do was shape the caps to suite and away I go. The hardest part of this job was getting every thing aligned and jigged so as to attach the WAF's (wing attach fittings), when these go on there's no turning back, where they sit is where they stay for good. so get it right!! 
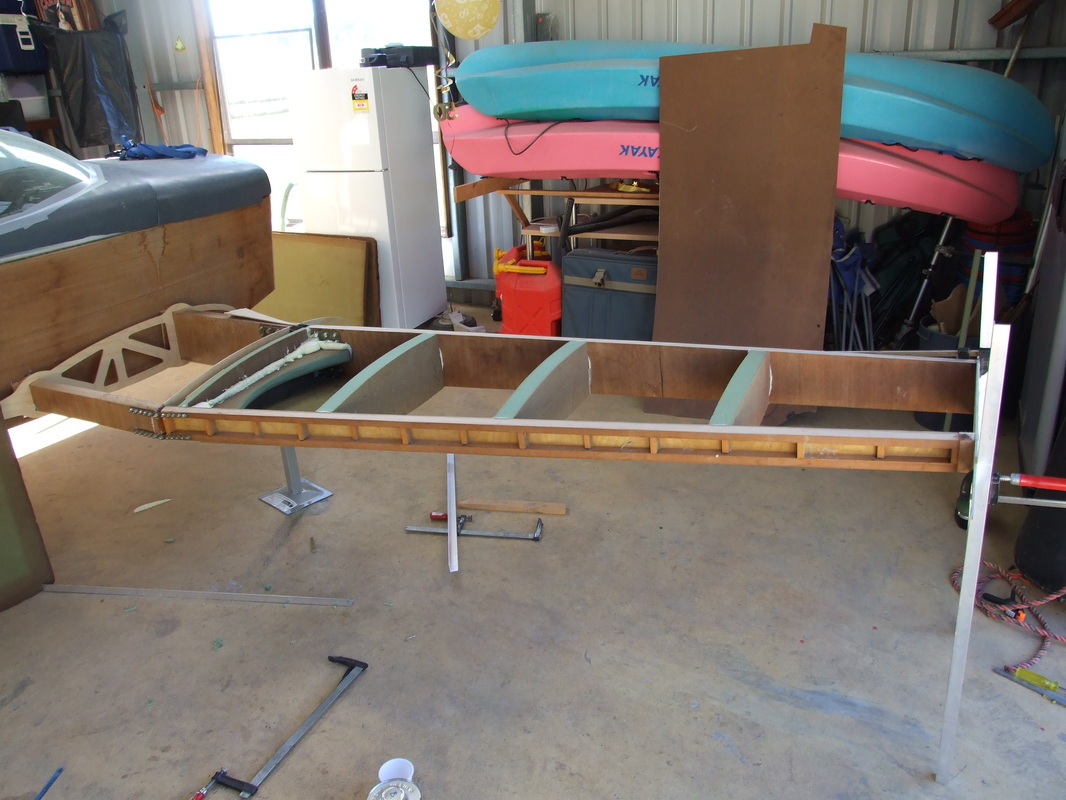
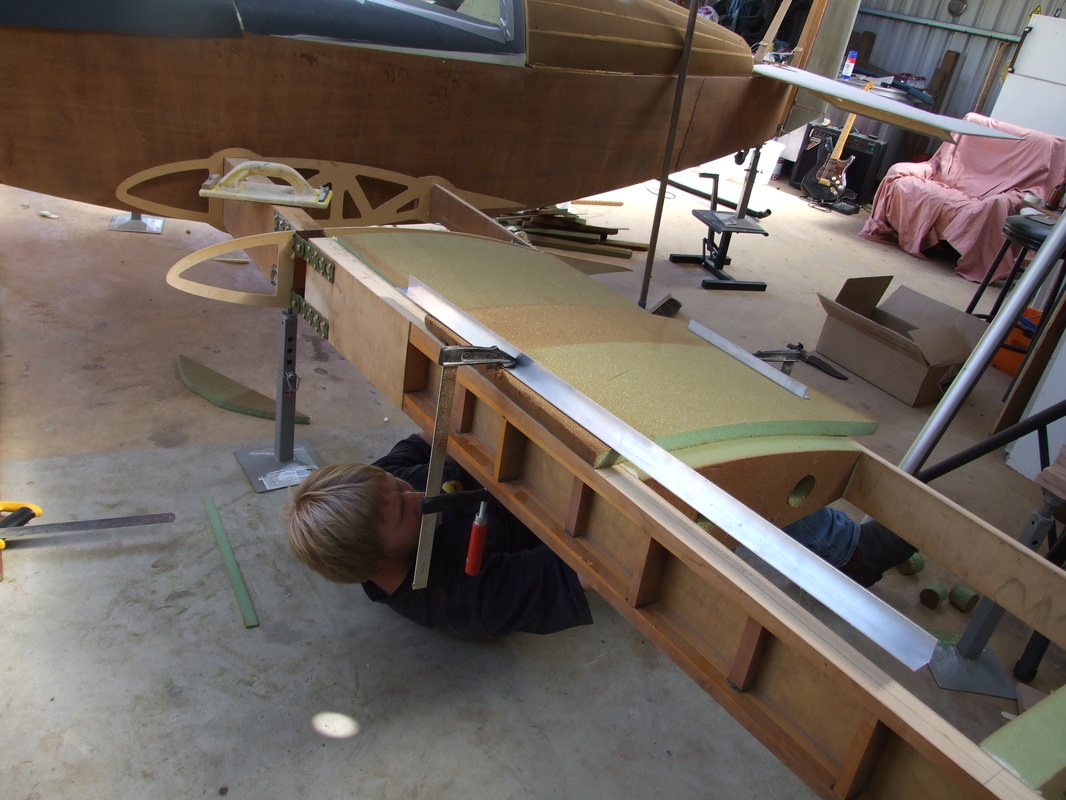
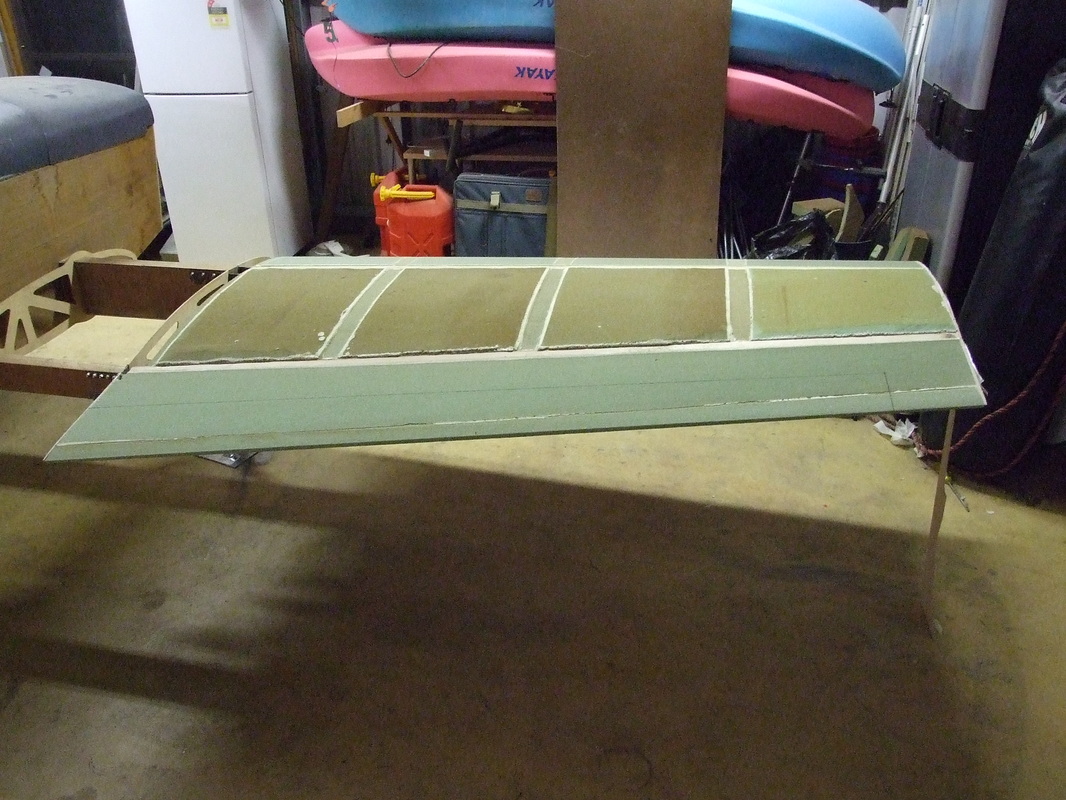
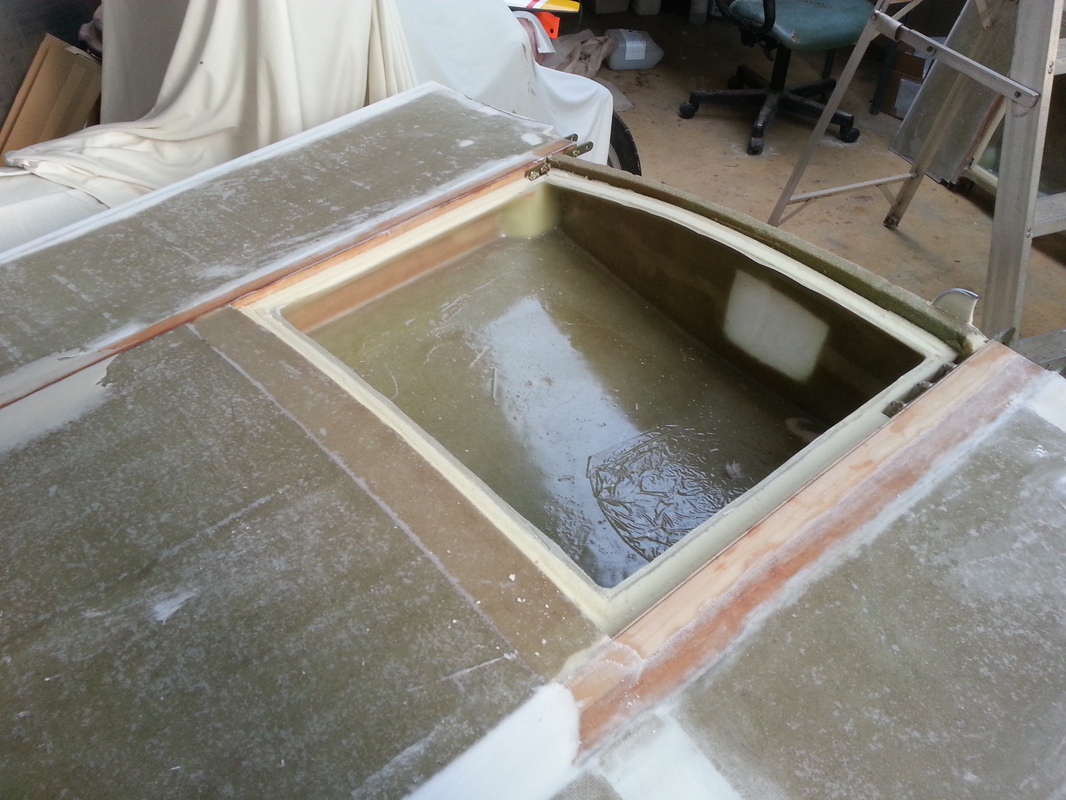
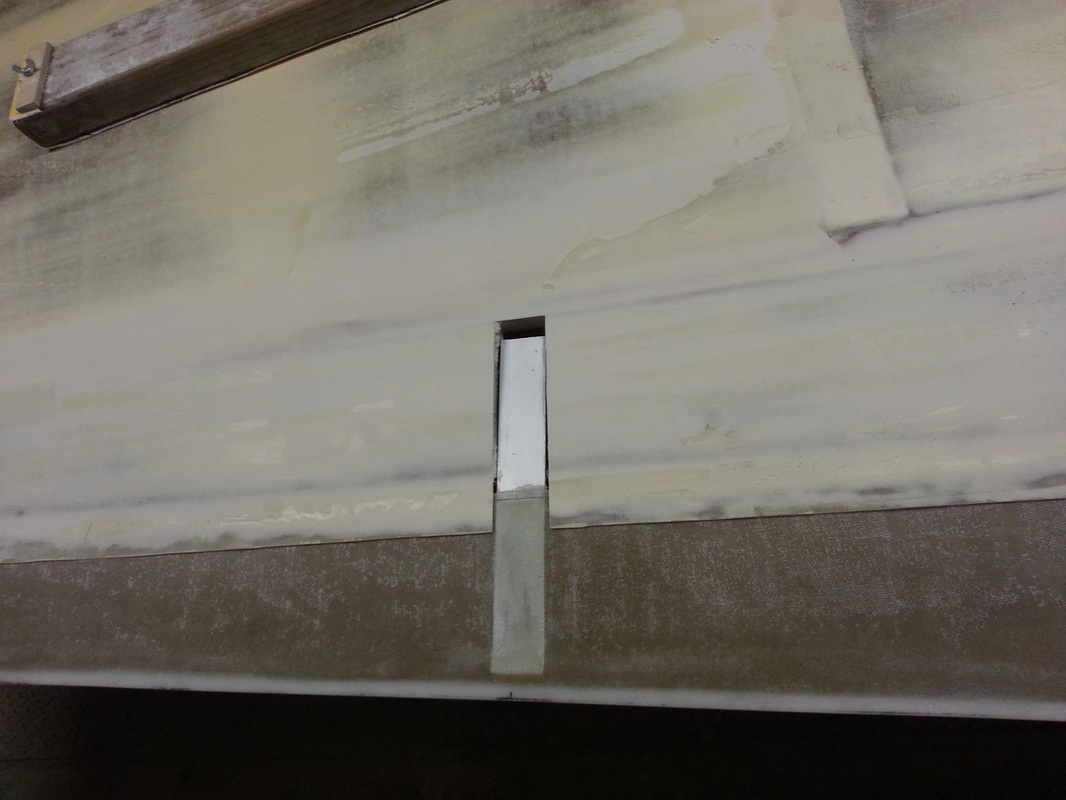
The rest as I said is straight forward. Built as per stock KR2 plan, cut the 6* 2" thick foam rib blanks glue in place cut 2* 1" thick rib blanks, glue in place, sand to profile, then cut plates of 1" foam to fit nice and snug between the ribs and spars, sand to shape, before you know it you got wings, total time building the wing panels so far (both) including jigging and mounting WAF's 4 days ( it's amazingly quick to build! ) .
28/05/2013 The outboard wings have now been glassed up. Ailerons have been cut out and the spars hinged with (ms20001p5) hinge, (ms24693-s50)screws and nut plates (ms21047l08) bonded into place on the back of the spars. Then the spars bonded into the wings and ailerons. To sand out the foam to rebate the spars in I made up a sanding block from a small block of wood larger in size than the thickness of the wing and aileron then glued a smaller piece of wood to that, that would fit inside the wing and aileron to match the thickness of the spars then glued 80 grit paper to that, so when you sand out the foam you get the exact depth for the spars to seat into. The push rods then made using (4130 tube 1/2" * .035"). (an490ht8p) rod ends and (mw-4) aurora bearings. the differential throws then setup, this was a slow painfull job to get right! Wing tanks were then built up pretty much exactly to the book and lined with what was called 'Dragons Blood' tank sealer called that due to its blood red color. tanks then fitted with standard VDO level senders. spent some time doing home work on wing tip design and finally decided on using a modified hoerner style. good video on youtube explaining how to do it, except I didn't use a hot wire (seriously not good for the health on polyurethane foam!!!). just marked it out on the foam block and started sanding. Was probably quicker than hot wiring anyway! Top surfaces have had its first lot of filling and sanding. All that's left to do now is mass balance the ailerons and glass in the gap seals, then back to filling and sanding.
04/09/2013 Aileron mass balance arms are now fitted to the ailerons. I did this by using 1 1/2" wide 1/8" thick flat 6061. Cut out a section of skin from the lower surface of aileron just wide enough for the flat bar but left a lip for it to hook under at the T/E. of the aileron. floxed and glassed into place ready for weight. Something else to notice, here a lot about people buying Mylar strip and using double sided tape to make there gap cover, here I built mine in with a single layer of glass. Works fine ,slides over the aileron when it moves, and returns back with the aileron in neutral. Made mine by using duct tape to seal the gap with the tape as close the the edge of the wing spar as possible and pulling tight over the gap to the aileron then the lay of glass over it and about 4" into the wing and about 1" over the aileron. When cured pull hing pin and remove tape and then you have one gap cover 'easy'.